As the temperatures continue to rise here in the south and we inch closer and closer to summer, it's that wonderful time of year when we fire up the grill. My father in law had to go out of town this Sunday, so Stephen and I had the day off from Strictly Salt. We decided to head over to my step dad's house and invite a few friends over for an evening of experimentation. It was time to test out our Himalayan Salt Block Cooking skills.
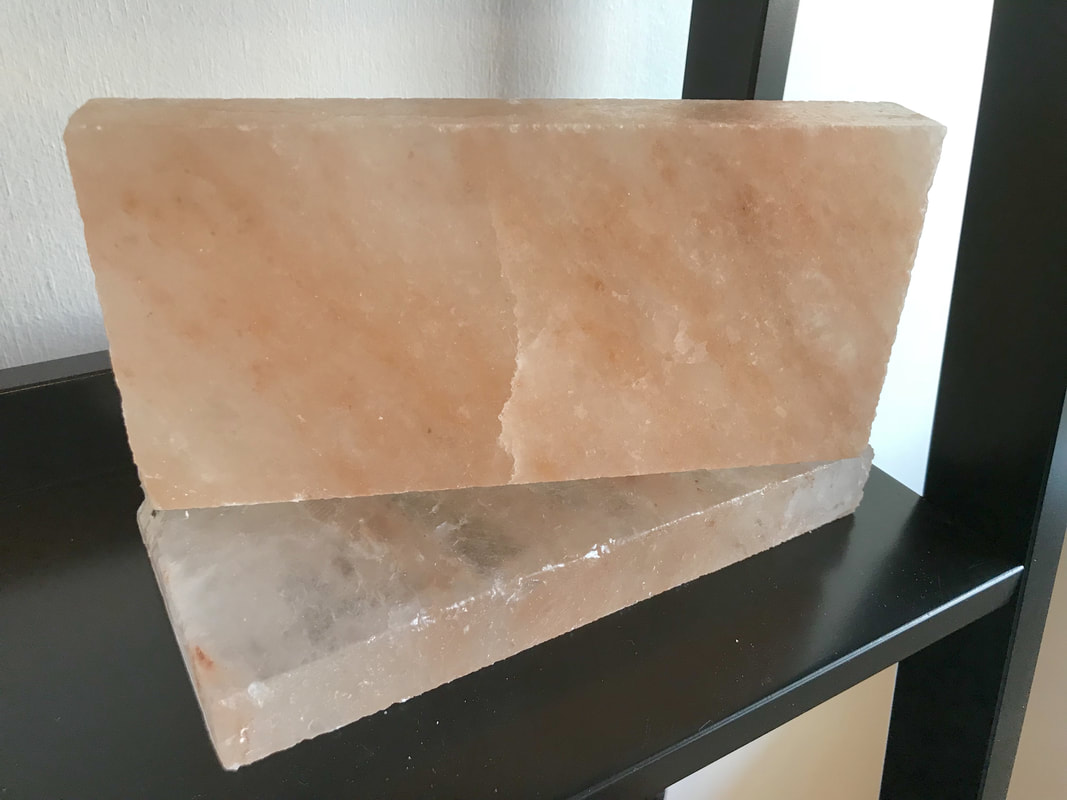
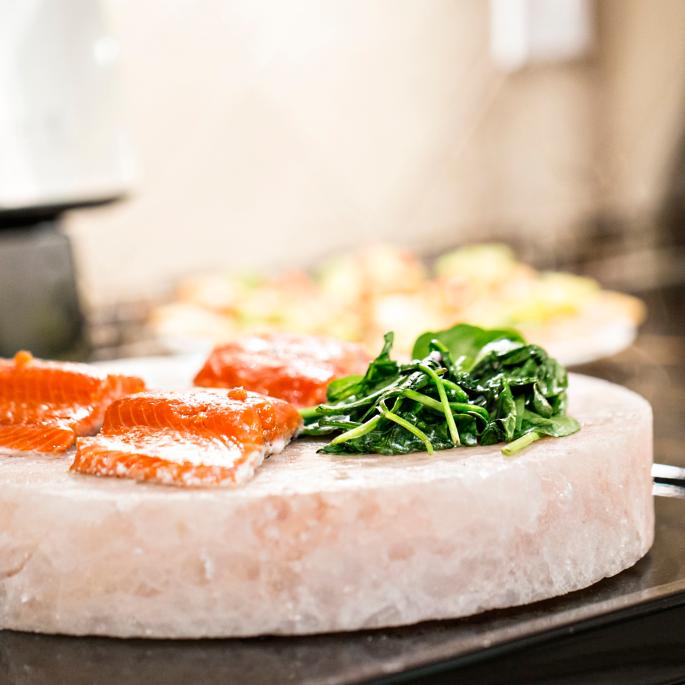
When it comes to grilling on Himalayan Salt, you have a few options. You can use large round blocks, similar to pizza stones, large rectangles, small rectangles and square shapes or varying sizes.
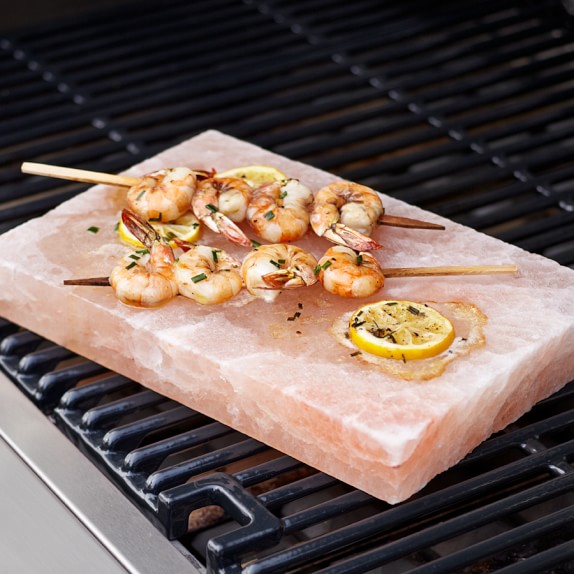
We chose a few smaller "tapas" size plates like the one above with the shrimp on it. Since we had 6 people we decided to break out a few blocks to cut down on cook time!
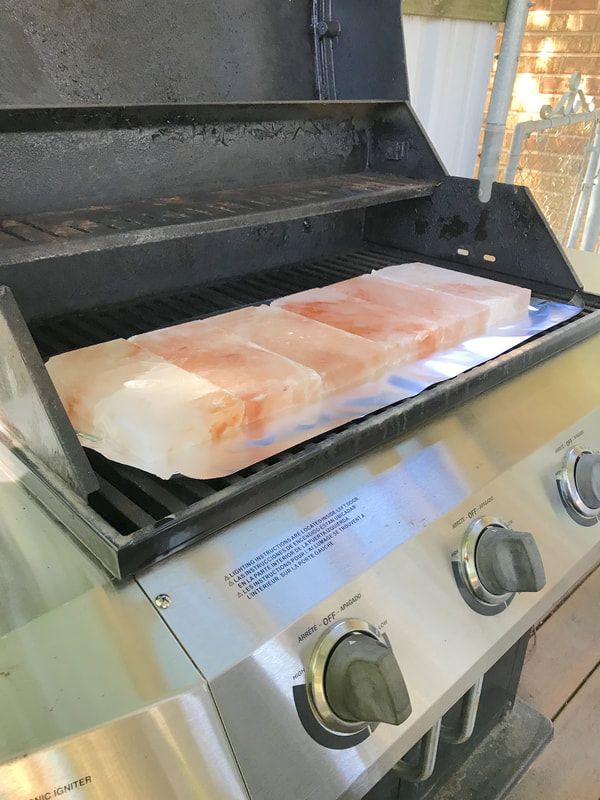
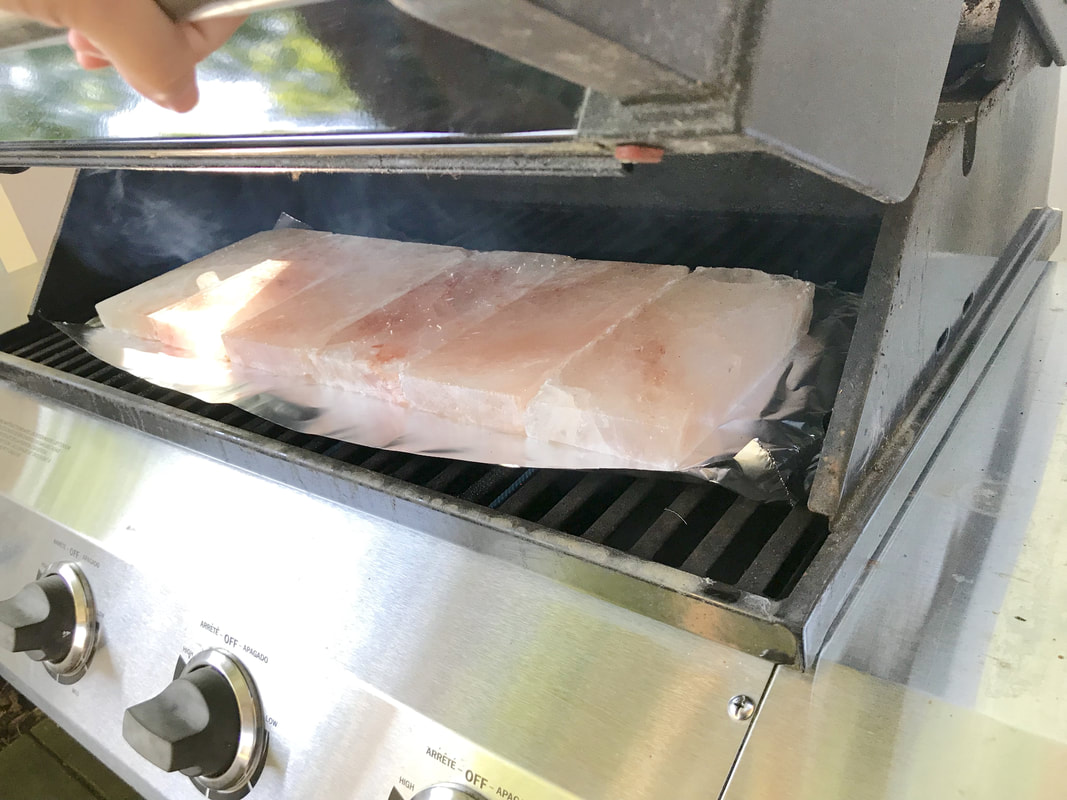
It was time to light up the burners. One thing to remember with Himalayan salt is that you ABSOLUTELY MUST heat them gradually. If you don't, you will run the risk of cracking your stone due to large temperature swings. We put down a layer of aluminum to protect the bottom of our blocks, since we were all inexperienced in Himalayan salt block cooking, we weren't sure what to expect.
Step 1:
HEAT ON LOW FOR 20 MINUTES
This particular grill had 4 burners across it. Evenly distributed across the bottom. I set the timer for 20 minutes and put down the lid hoping that we wouldn't hear any sounds of cracking or explosions. After 20 minutes the timer went off and all was well. It was time to up the heat.
STEP 2:
RAISE HEAT TO MEDIUM FOR 20 MINUTES
So, we turned up the heat on the gas dials and set the timer for another 20 minutes. When we came back, I was HORRIFIED!
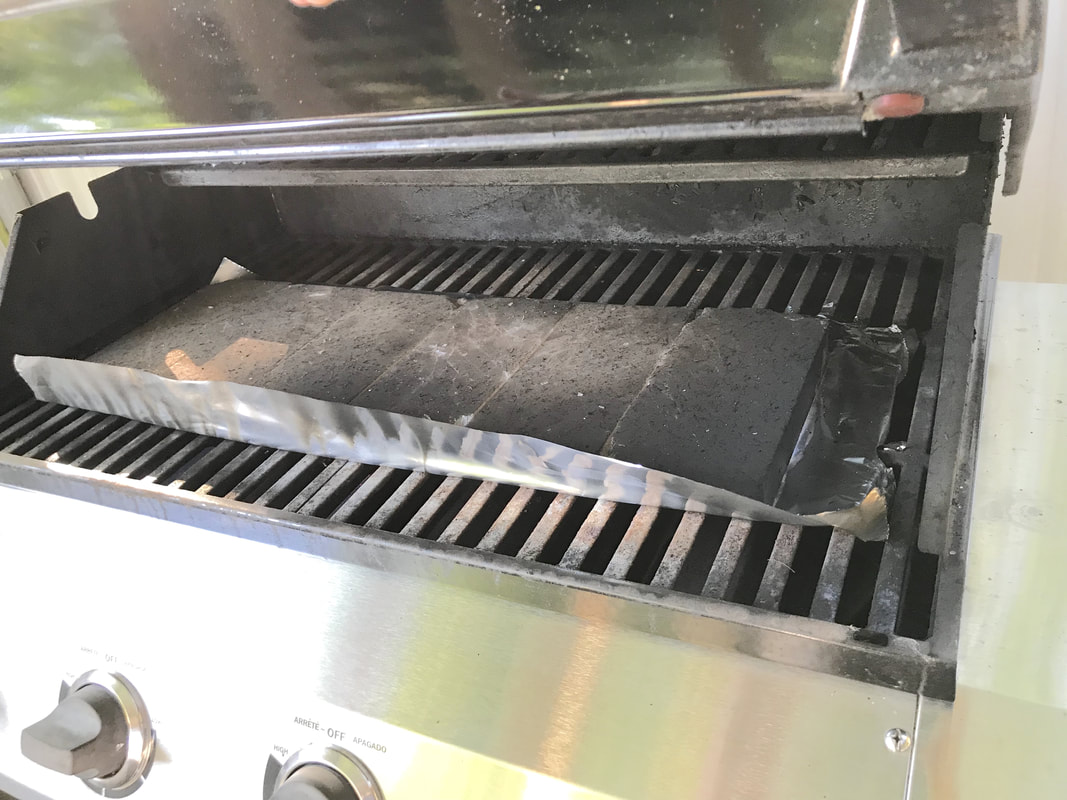
OMG! THE STONES ALL TURNED BLACK!!!!
What do we do now. I thought for sure that I ruined it. It turns out that 4 burners was a bit much for the salt blocks, but none of them had cracked or exploded! We all stood around analyzing the situation and came to the conclusion that we should do the water splatter test.
Step 3:
HEAT ON HIGH FOR 20 MINUTES
After heating on high for 20 minutes, do the water splatter test.
The water splatter test is exactly what it sounds like. Grab a bit of water on your hand and just sprinkle it onto the block. If the water sizzles, then your Himalayan block is ready for cooking.
Now, OBVIOUSLY by my image above, we all thought it was a bad idea to heat the stones on high for an additional 20 minutes. So, we decided to turn off the two middle burners and let them cool off for a few minutes. Then came the splatter test. As I bravely stepped up to the grill with my water in hand, I reached my hand in and splattered it across the bricks and to my amazement nothing happened except for a mild sizzle! Everyone was relieved, and everyone joined in on the splatter fun... but no one more enthusiastic than my step dad.
The splatter test revealed that the dark residue was simply dust we failed to clean off properly before heating! So, with a damp paper towel and some tongs, we carefully wiped them clean and they were once again pink and ready for grilling!
With only two burners left on low to keep the temperature up in the grill we threw on the veggies.
STEP 4: COOK!
This step took some trial and error, the veggies took a lot longer to cook than we anticipated and I would reset the timer every 5 minutes to see if they weren't overdone.
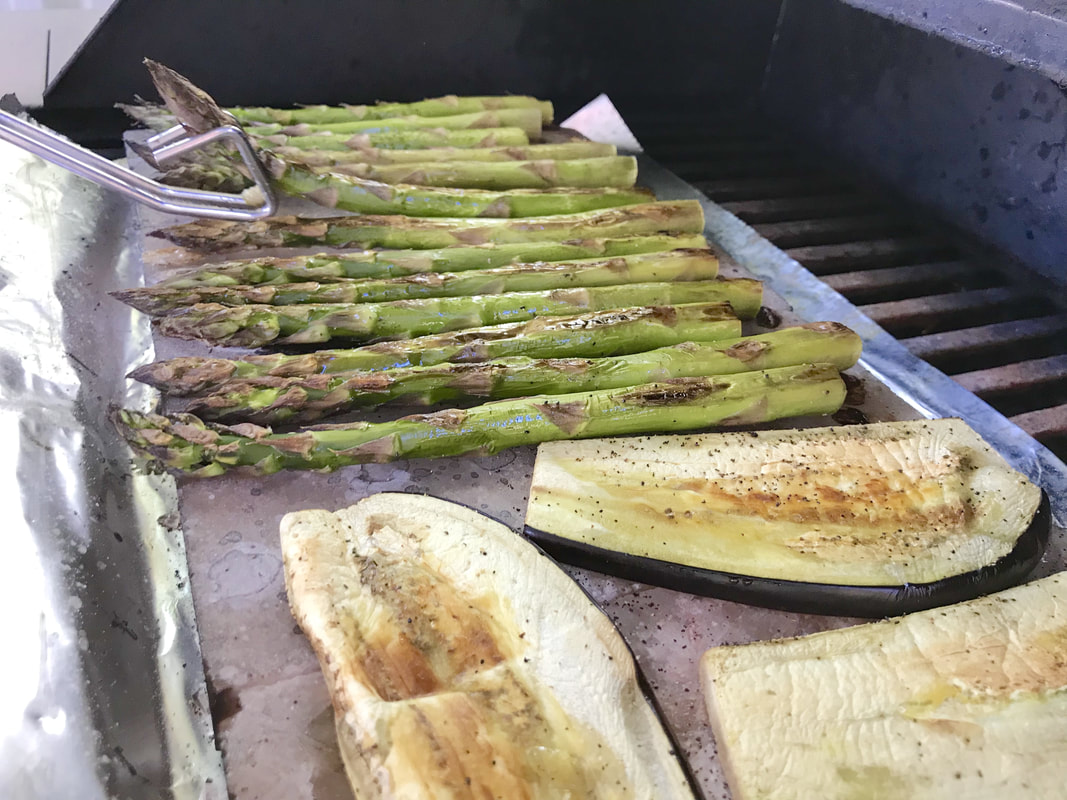
We started off with some asparagus. and thinly cut eggplant sprinkled with some pepper.
The eggplant was honestly, too thinly cut. If you're a fan of a thick juicy piece of eggplant, don't cut them so thin! The cooking process dried try them out a bit. After about 10 minutes on each side, the Eggplants were done. The Asparagus still needed some time but it was time for a taste test.
To our amazement. The eggplants were DELISH!!!! Even with just a light coating of pepper, we could not believe that the flavor was so good. We were all a bit concerned that the eggplants would be very bitter to taste, which can happen sometimes when you under cook eggplants as I'm sure many of you foodies know, but there was no hint of bitterness. These eggplants were almost chip like, salty and a bit dry. for the next round of eggplants we decided to get creative and drizzle a bit of olive oil on top to help them cook faster and retain some of the moisture. These too were a huge hit.
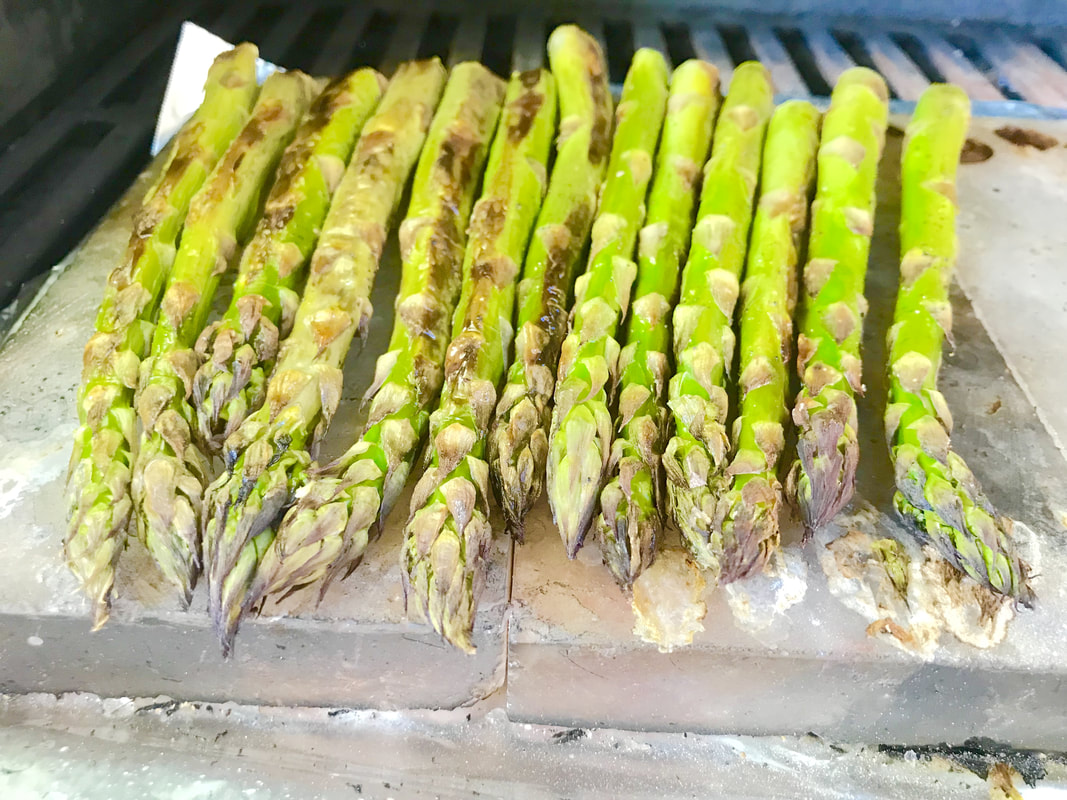
All the while the asparagus continued to cook. After about 15 minutes of total cook time, the asparagus were finally ready to flip over. To accelerate cooking, we opted for a bit of oil drizzled on top and a sprinkle of pepper as well.
The asparagus were soft and ready to take off of the grill finally after about 30 minutes of cooking.
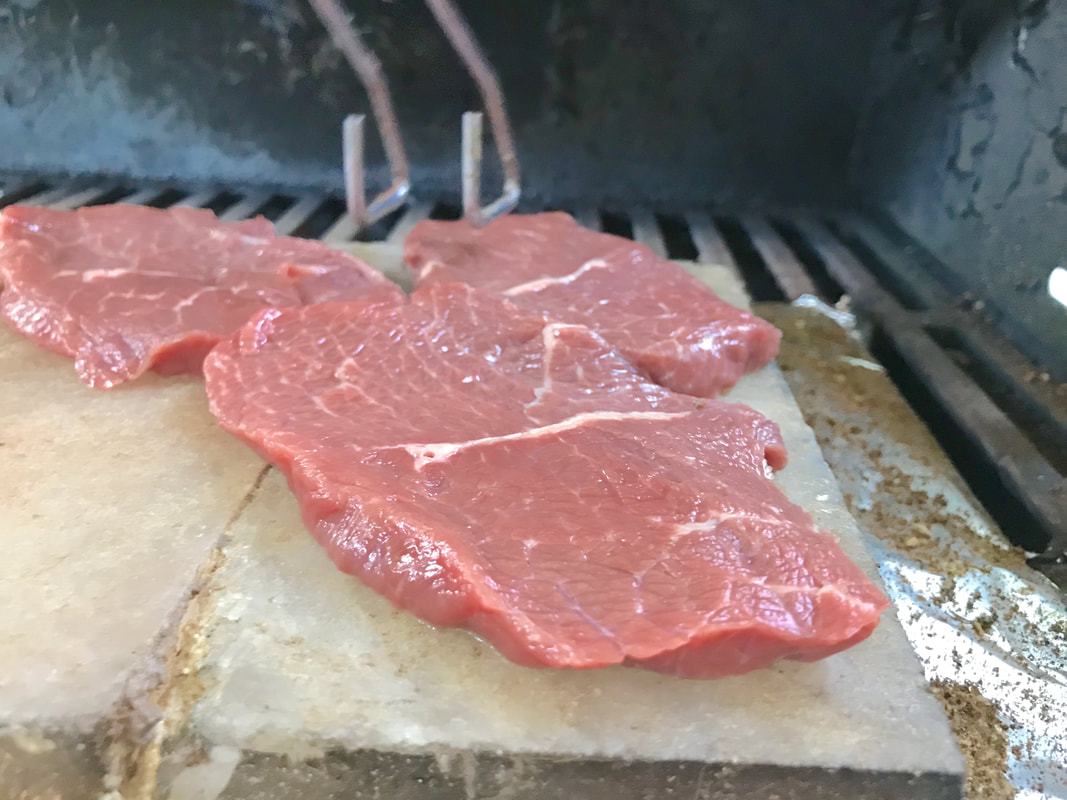
It was time to pull out the steak!
It was time to pull out the steak!
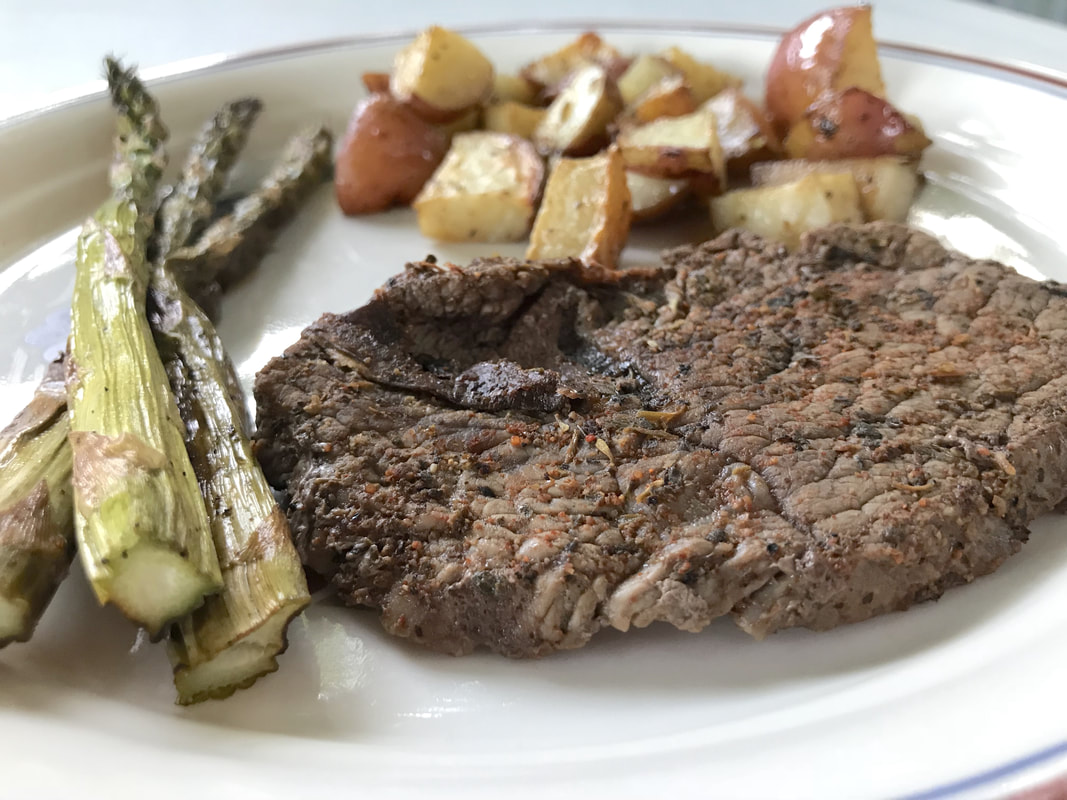
We decided to leave three steaks unseasoned to see what it tasted like straight off of the salt block. The other small steaks, we seasoned with a family favorite "New Orleans Seasoning" blend from the Budget Saver on the west bank. This stuff is seriously hard to find, my dad lives over there and anytime he finds them he loads us up! It's worth the trip out there I guarantee!
The small, thin steaks cooked in no time! We were amazed than in about 6 minutes they had been flipped and cooked. A bit too quick for my liking, since that meant that the meat wasn't particularly tender, but we can work on that. So, with that being done. We all grabbed out plates and dug in.
The small, thin steaks cooked in no time! We were amazed than in about 6 minutes they had been flipped and cooked. A bit too quick for my liking, since that meant that the meat wasn't particularly tender, but we can work on that. So, with that being done. We all grabbed out plates and dug in.
There was soon an explosion of OOOO's and AAAHHH's coming from the table. The food was a bit salty for a girl who doesn't even bother using salt in the kitchen most days but it was this wonderful understated rich savory taste instead of just salt. The asparagus were my absolute favorite. They were simply the best asparagus I have EVER cooked. The Himalayan cooking block released just the PERFECT amount of salt onto the vegetable.
As for the steak, it was unanimous. As good as that New Orleans seasoning was, it was completely eclipsed by the non seasoned steak. We made sure to wipe all the other flavors off of the Himalayan grill block before putting the plain steak to grill. The flavor of the meat was completely enhanced. We were all pretty proud of our experiment.
I hope that you all enjoyed reading this blog as much as I had putting it together! Please feel free to ask questions below or leave me some comments!
"Stay salty, my friends!"


 RSS Feed
